Transform Your Fitness Routine with These 5 Pain-Free Exercise Tips
Whether you’re an aspiring athlete, a sports enthusiast, or just fitness curious, one simple truth holds true: pain-free exercise is the foundation to a sustainable workout routine.
Pushing through sharp pains while exercising isn’t just frustrating — it’s a dangerous habit that will only worsen the underlying cause of the pain.
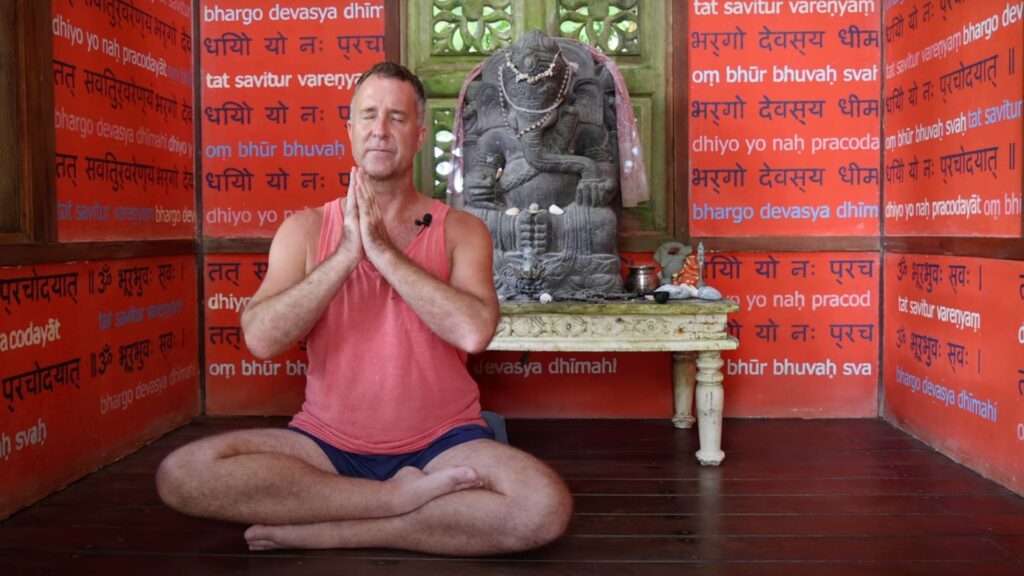
And yet… 1 in 5 Americans push through pain during exercise. I can relate. If you’ve read my book Stop Stretching!, you might remember this anecdote:
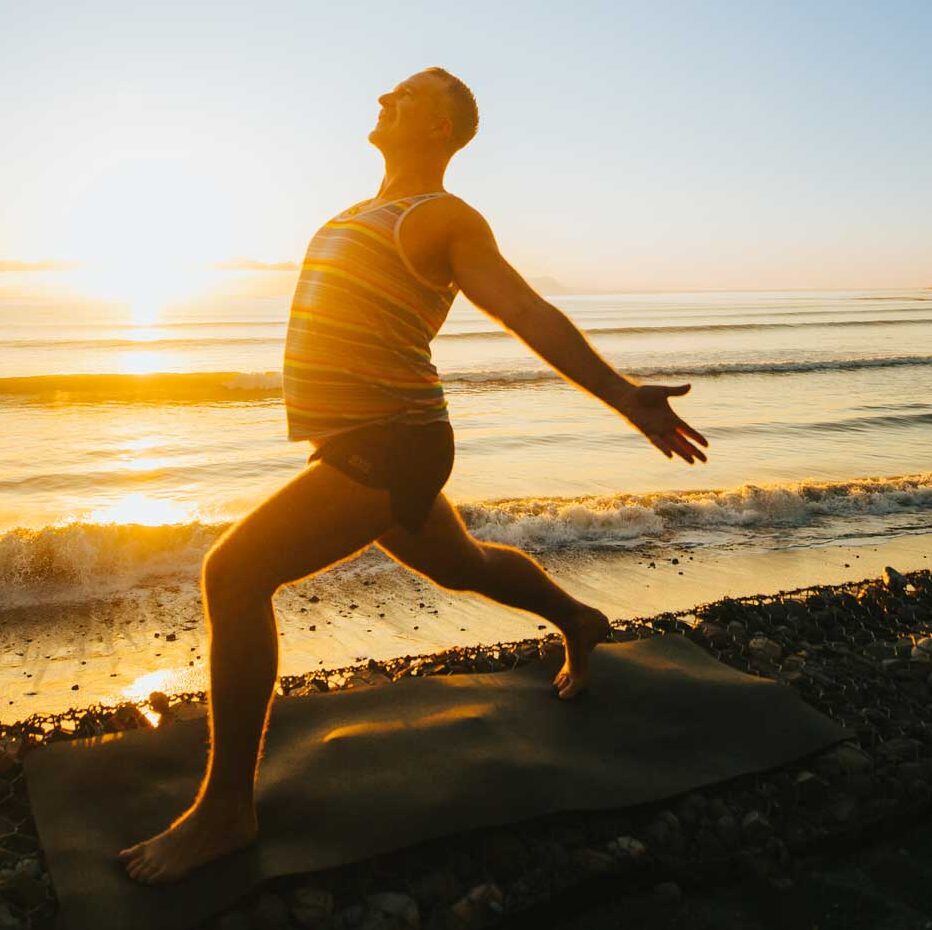
In late summer 2013, on a balmy afternoon in Costa Rica, I went for a run on a secluded, jungle-lined beach. The jog started like every other. After the first mile or so, my body began to loosen, and my mind started to settle. Soon the jog became a moving meditation.
Vibrant scarlet macaws soared overhead. The gentle waves of the Pacific Ocean lapped beside me. All was wonderful until, suddenly, it wasn’t…
Just as I reached my landmark to turn around, my calf muscles began to cramp. I fell to the ground in crippling pain. I lay there for what felt like hours, my muscles unwilling to release from their contraction.
Eventually, I was able to clamber to my feet and limp home. But here’s the thing…
My body gave me countless warning signs before it gave out — warning signs that I chose to ignore. Don’t be like me, moaning on the sand and praying for relief.
With the right pain-free exercise tips, you can start—and continue—a fitness routine that makes you feel strong, stable, healthy, and alive.
Avoid Common Workout Injuries With These 5 Pain-Free Exercise Tips
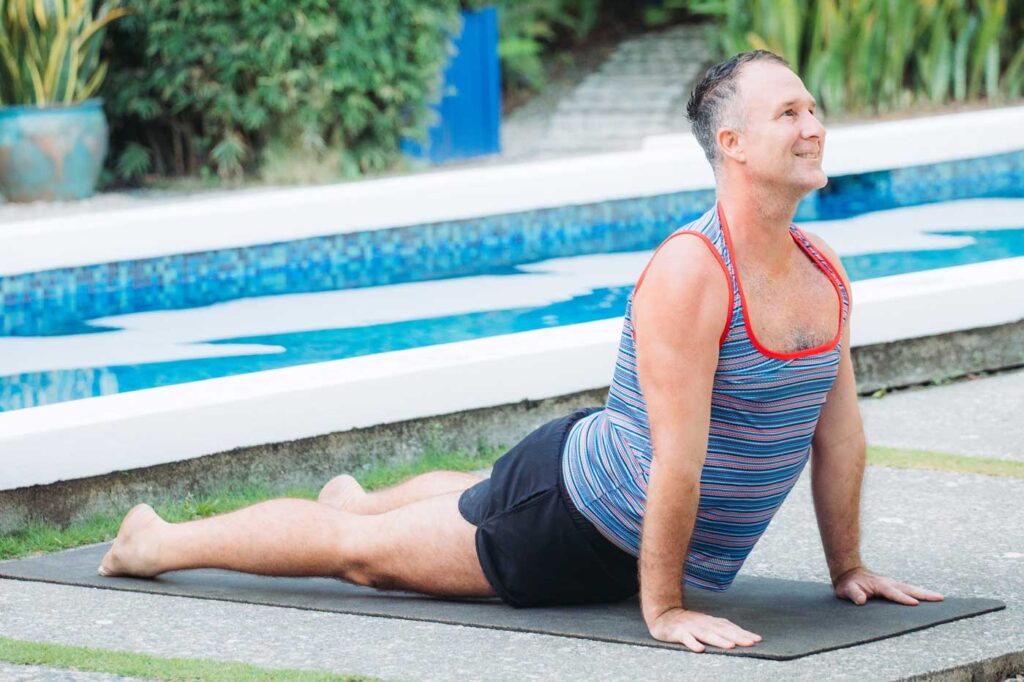
1. Stop stretching
We can’t go any further before we lay the first and most important rule for pain-free exercise: stop stretching before and after your workouts.
Listen…
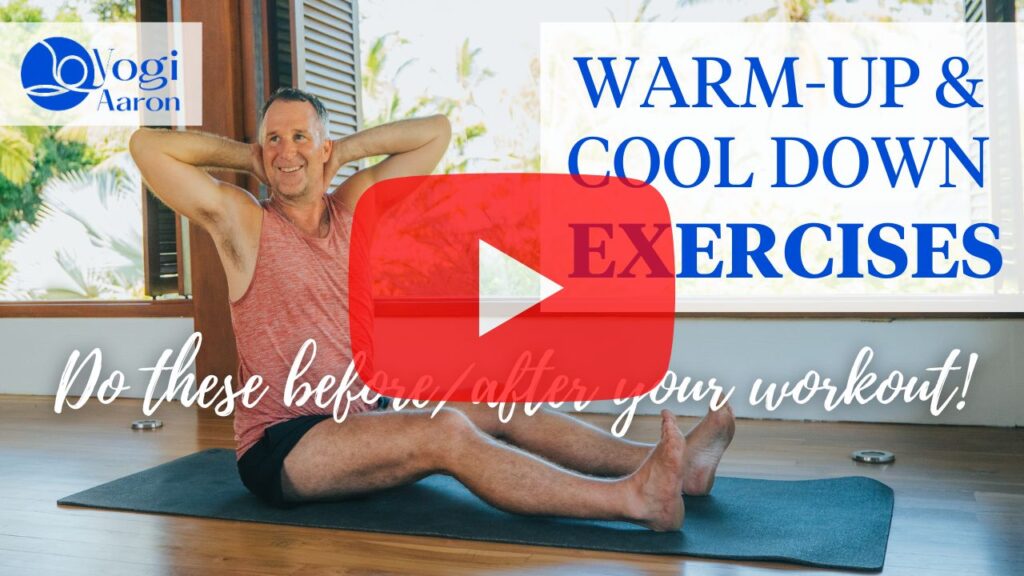
I know you’ve been told that stretching is good for you and that stretching to prevent injury is a good idea. I’m here to debunk that myth. (Watch the quick video below to understand why you should stop stretching before and after a workout.)
Muscle function always disappears the moment that we stretch. Yes… always. The idea that stretching is beneficial to tight muscles is untrue.
Here’s what I want you to remember:
Stretching leads to muscle instability, weakness, and pain.
I’ve written extensively about the science behind stretching, so I won’t go into a deep dive here. If you want to better understand the effects of stretching on the body, start here.
However, let me say this: there are numerous studies that have demonstrated stretching can cause more harm than good.
One study by Lenox Hill demonstrated that muscles actually shut down for thirty minutes after stretching. Of course, you don’t want your muscles shut down before your workout!
In another study, researchers analyzed the effectiveness of passive stretching on one-mile uphill run performance. The authors concluded that passive stretching was associated with a decrease in running performance in a one-mile timed trial. The same researchers found in a previous analysis that passive stretching was associated with a decrease in running economy and distance during a 30-minute timed trial.
So, if stretching is causing you more harm than good, what should you do? Well, this leads me to my next point…
2. Start activating your muscles
If you want to prepare your body for pain-free exercise, the absolute best thing you can do is focus on muscle activation.
When we focus on activating our muscles (rather than stretching and injury prevention) we increase muscle strength, stability, and range of motion — all critical factors if we are to prevent workout injuries.
This is exactly why I created Applied Yoga Anatomy and Muscle Activation (AYAMA™.) Through AYAMA, you begin to reestablish neuromuscular connections, so your brain and muscles can communicate effectively. In the process, we equip the body to handle the stress of exercise and reduce risk of pain and injury.
Now…
The exact AYAMA exercises to perform prior to a workout will depend on (1) your individual body and (2) which activity you are about to perform.
If you are already dealing with pain or imbalances in the body, that will affect which activations make the most sense for you. Similarly, running might require different activation exercises than, say, swimming.
However, there are a few AYAMA poses I do any time I’m going to work out, and I recommend you do, too. I’ve referenced them at the end of this article.
3. Use proper breathing techniques
How often do you stop to think about your breath? For one of the most important activities we do, so few of us pause to consider how we take in and expel O2 through our living organisms…
And yet, learn to maximize your inhale and exhale, and you will decrease your risk of common workout injuries.
Let’s take a sec to cover the science:
When you inhale, oxygen travels through your lungs to your muscles via your bloodstream. When you exhale, carbon dioxide leaves your body.
Learn how to breathe properly, and you’ll ensure your muscles get the oxygen they need to function properly. Breathe deeply and fully, and you’ll expand your lungs to bring in more air, allowing your muscles to work more efficiently while reducing the risk of injury.
What’s more, optimize your breath, and you’ll maintain proper form while reducing the strain on your body. For example, if you lift weights, exhaling on exertion will stabilize your core and help you maintain proper alignment of your spine.
So, how can you incorporate proper breathing techniques into your workouts for pain-free exercise? Here are a few tips:
- Take deep breaths, filling your lungs with as much air as possible. If you feel your heart rate speeding up, slow down your exhale.
- When lifting weights or performing other exercises that require exertion, exhale as you lift or push. This can help you maintain proper form and reduce the risk of injury.
- Try to coordinate your breathing with your movements, inhaling as you prepare and exhaling as you execute the movement.
- Incorporate breathing exercises into your workout or yoga routine. If you’re new to breathwork, my guided meditations will walk you through everything you need to know.
4. Gradually increase workout intensity and duration
When starting a new exercise program, it’s important to begin slowly and gradually increase the intensity and duration of the workout over time. This allows your body to adapt to new stresses and helps to prevent injury and overtraining.
Increasing the intensity of your workout too quickly and you risk muscle soreness, joint pain, fatigue and burnout. Remember, we want strong and stable bodies that can withstand life’s daily stressors!
5. Listen to your body
You’ll often hear us yoga teachers say, “Listen to your body.”
The only problem? Most of us don’t know how to interpret the communications our body sends us.
We misinterpret vital communications. We wait until our bodies must shout their messages in the form of pain and injury. Our bodies are screaming to pause and reset, yet we continue pushing through tweaks and twinges because no pain, no gain.
One of my most important tips to pain-free exercise is to listen to your body! AYAMA is a proven way to learn how to do exactly that. In the meantime, here are three tips you can start using right now:
1. Practice mindfulness: Tune in to your body’s signals before, during, and after your pain-free workouts.
2. Rest and recover: If your body is telling you to take a break, don’t be afraid to do so. AKA — Don’t let your Ego drive the car!
3. Practice body scans: A body scan is a mindfulness technique that involves mentally scanning your body from head to toe and noticing any sensations or areas of tension. You can do a body scan at any time!
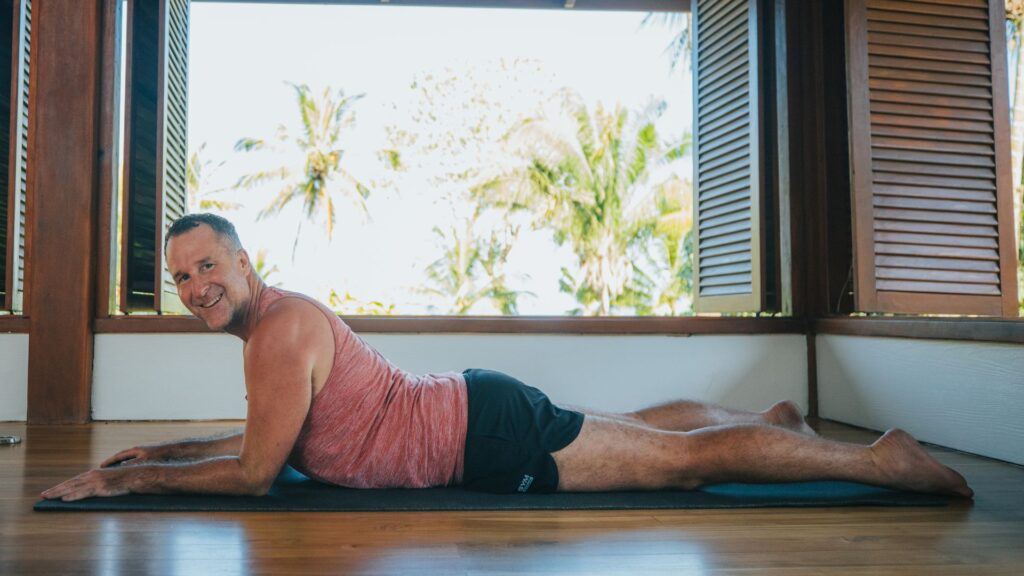
5 AYAMA injury prevention exercises
Before you lace up your shoes for your next workout, take a few moments to practice the following AYAMA techniques for pain-free exercise. Your body will thank you!
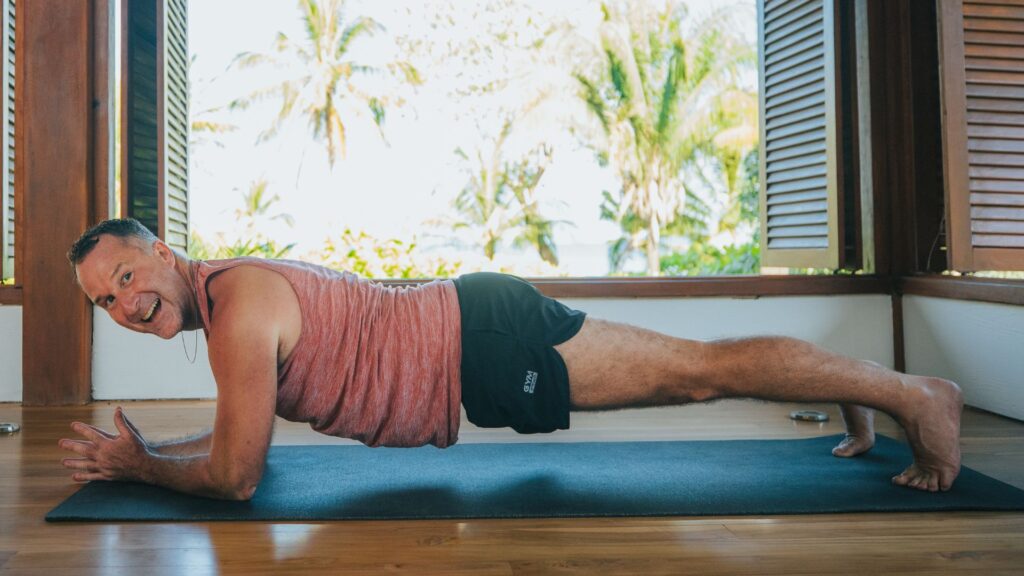
1. Plank Pose
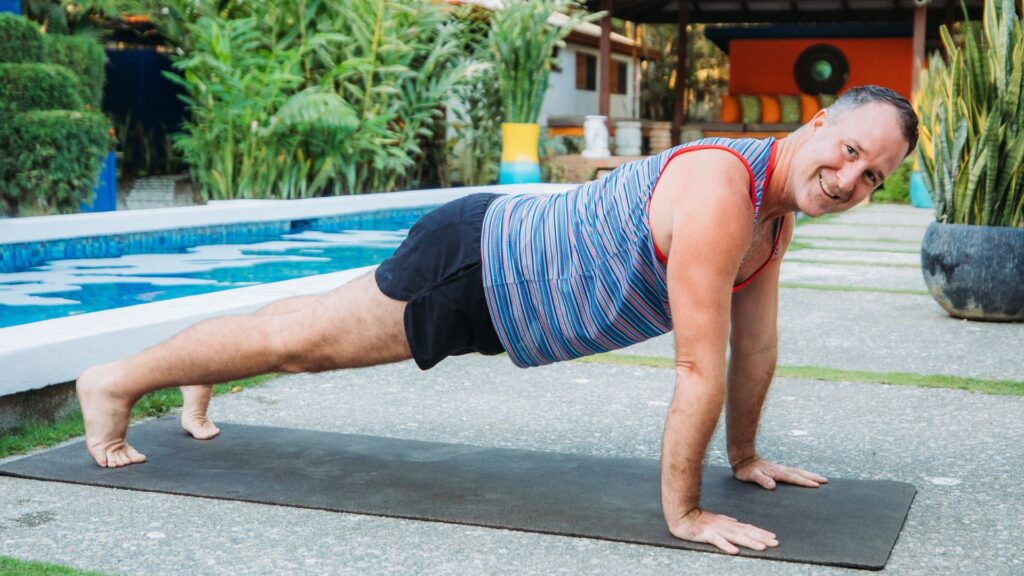
Move into the posture by coming onto your forearms and toes. (You can also come into a high plank pose on your hands and toes).
Press your heels back behind you, and engage your thigh muscles by lifting the inner thighs upward while simultaneously allowing your hips to slightly dip. This next part is important: squeeze the sides of your belly while slightly lifting the pubic bone toward the navel. (Imagine you’re pulling those high-rise jeans on!)
2. Quadruped Pose
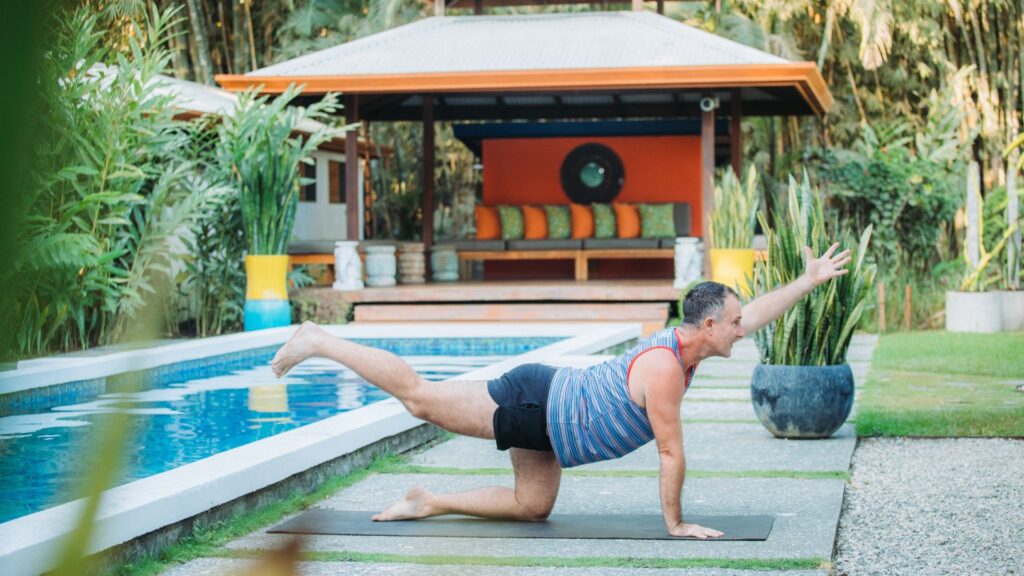
Come onto all fours in a quadruped position. Keep the spine neutral, and align your wrists beneath your shoulders and your knees beneath your hips.
You can place your elbows on blocks if putting pressure on your wrists causes pain. Engage your core so your navel comes in toward your spine. Simultaneously lift your left leg and right arm as high as you can.
Lower your left hip slightly without dropping your left leg. Do you feel a contraction in the lower back? Excellent! Switch sides.
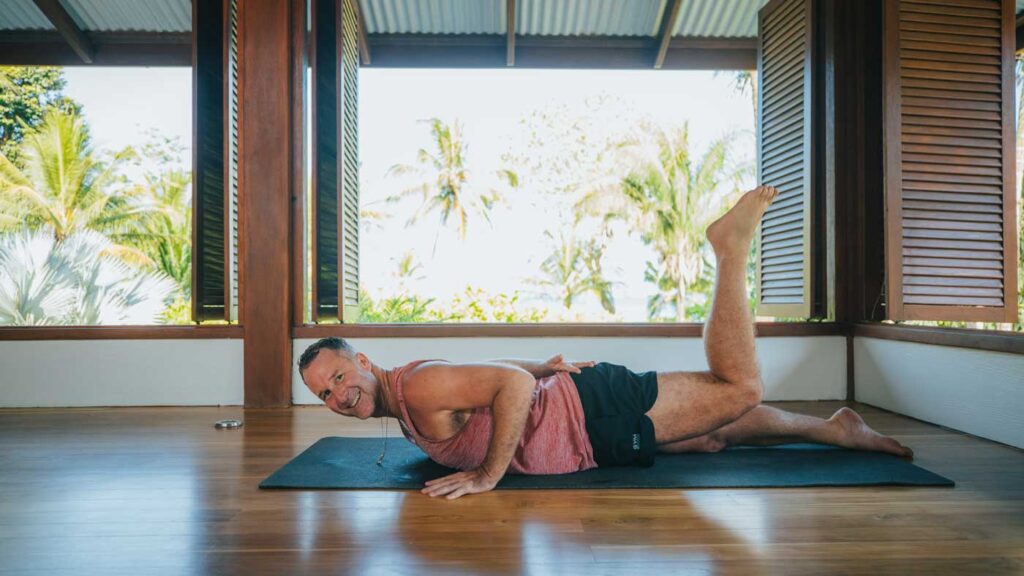
3. Superman Pose
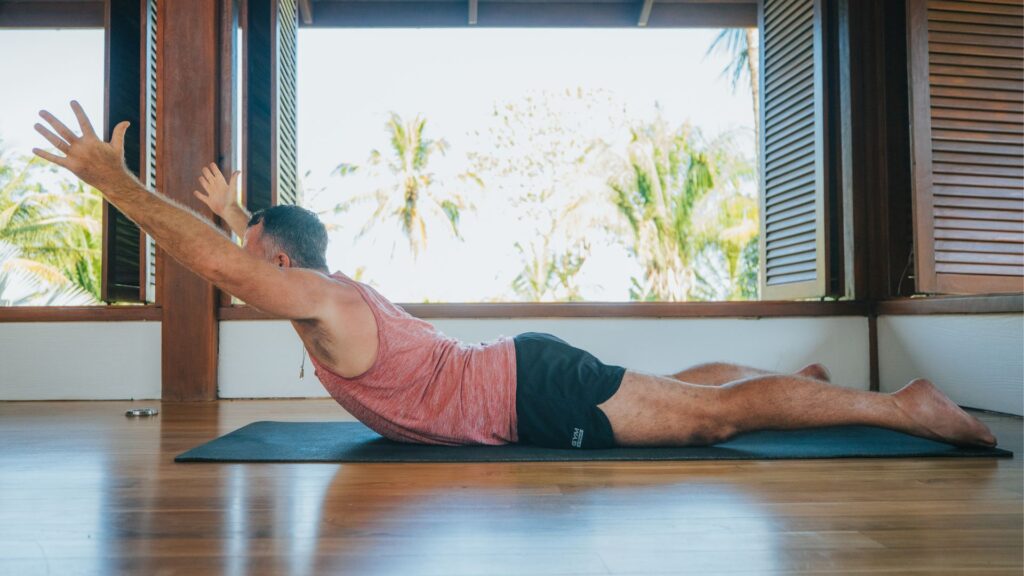
To practice this muscle activation, lie on your stomach and place your hands on your lower back. Lift your legs into the air, then peel your head and chest off the ground. As you build strength, you can reach your arms forward and upward I’m demonstrating in the picture.
Keep your legs as straight as possible, toes pointed. Do you feel the muscle beneath your hands engaging? Great!
This pose also activates the gluteal muscles, which is important for most exercises. Hold the pose for six seconds, and repeat it six times. You’ll likely find that you can lift the legs and torso slightly higher each time you practice this posture.
P.S. This is one of my go-to yoga poses for back pain, too!
4. Psoas Major Activation
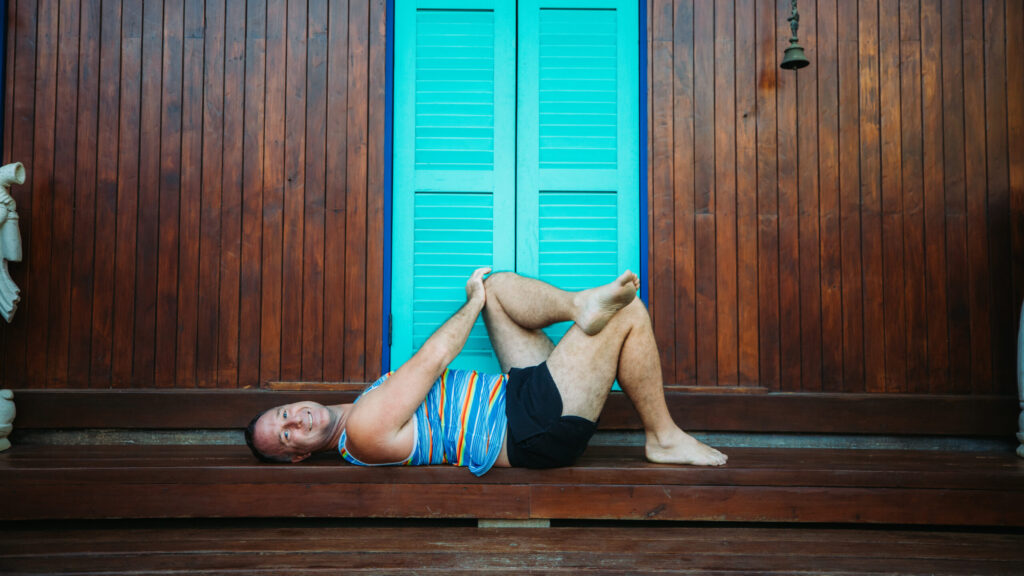
Lie on your back with your feet firmly planted on the ground. Walk your feet a few inches toward your spine.
Take your hands to your naval center and your left hip bone. Find the middle spot between these two points, then bring your left fingers in diagonally to gently push. Do you feel your psoas major? You might not feel anything yet, and that’s okay. Keep your fingers where they are.
Take your left foot and place it over your right knee. Bring your right hand to your left knee, and press the two together. (You should push on your knee so that, if you removed your hand, your knee would fall toward your chest.)
Now can you feel your psoas major engaging? If not, move your fingers up or down slightly until you locate the muscle. This is a very gentle and accessible way to wake up the psoas while facilitating neuromuscular connection and achieving pain-free exercise. Hold the pose for six seconds, and repeat it six times. Repeat this process on the right side.
5. Bridge Pose
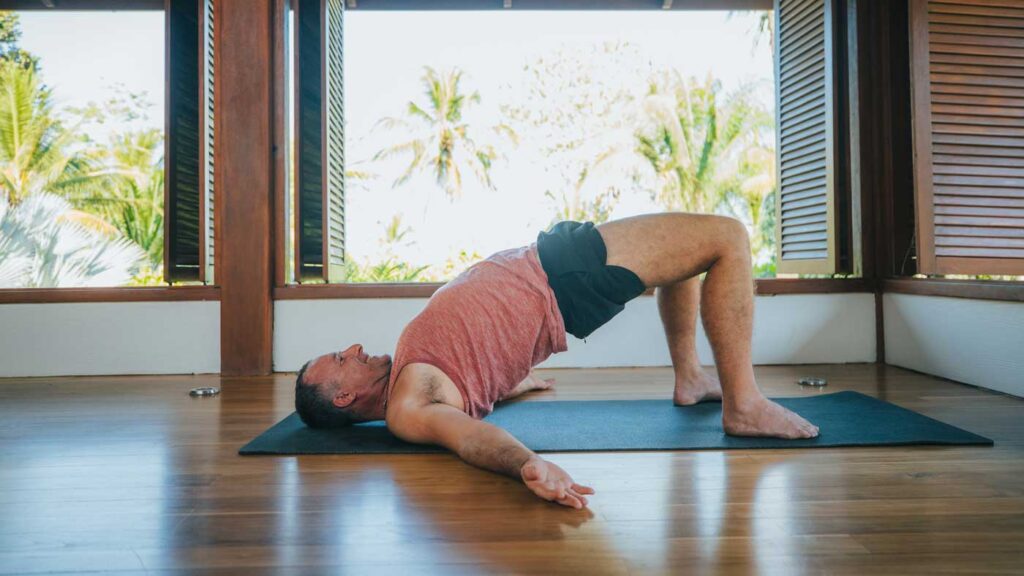
This popular yoga posture is a potent way to fire up the gluteal muscles while strengthening the lower back; it’s one of my go-to’s for daily AYAMA practice and a pain-free workout!
Lie on your back, and bend your knees with your feet planted beneath you. Relax your arms up overhead so you resist the urge to use your arms to lift up off the ground.
Now lift the gluteal muscles as high as you can. Ensure that you’re squeezing your buttocks! Don’t let the knees collapse inward or fall open, but instead imagine you are squeezing a block between your thighs. Hold for six seconds, then repeat the move six times.
To sum it up
If you only read one thing about how to avoid workout injuries, let it be this:
1. Stop stretching
2. Start activating
Achieving pain-free workouts really can be as simple as that!
Now, for over 30 years, I’ve helped people from around the globe eliminate their pain so they can truly step into their greatest potential and live their life purposefully. And I’d love to help you, too.
If you’re tired of dealing with frustrating and debilitating workout injuries, get in touch today and learn how to relieve pain for good.